Under Lines, choose a connector line such as the Curved Arrow Connector. On the Format tab, in the Insert Shapes group, click a Flow chart shape. Before you create a flow chart, add a drawing canvas by clicking the Insert tab, clicking Shapes in the Illustrations group, and then clicking New Drawing Canvas. Note: If you want to apply a color and gradient that aren't available in the Shape Styles group, select the color first, and then apply the gradient.Īdd flow charts with connectors. On the Format tab, in the Insert Shapes group, expand the shapes options by clicking the arrow. On the Format tab in the Arrange group, click Group so that all of the shapes will be treated like a single object.ĭraw in the document. Select several shapes at a time by pressing CTRL on your keyboard and clicking each shape you want to include in the group. Click the shape you where you want text, and then type. On the Format tab, in the Insert Shapes group, click Edit Shape, point to Change Shape, and then choose a different shape.Īdd text to a shape. On the Format tab, in the Insert Shapes group, click a shape, and then click somewhere in the document.Ĭhange a shape. You can do any of the following on the Format tab, which appears after you insert a drawing shape: On the Insert tab, in the Illustrations group, click Shapes. Step 2 − Click the Layout tab, and click the Delete Column option under the Delete Table Button to delete the selected column.Click in your document where you want to create the drawing.

Step 1 − Click a column which you want to delete from the table and then click the Layout tab it will show the following screen. Delete a Columnįollowing are the simple steps to delete columns from a table of a word document. If you click the Insert Right button, it will add a column just next to the selected column. If you click the Insert Left button, it will add a column just left to the selected column as follows. Step 2 − Now use the Row & Column group of buttons to add any column to the left or right of the selected column. Step 1 − Click a column where you want to add an additional column and then click the Layout tab it will show the following screen. The following steps will help you add columns in a table of a Word document. Step 2 − Click the Layout tab, and then click the Delete Rows option under the Delete Table Button to delete the selected row. Step 1 − Click a row which you want to delete from the table and then click the Layout tab it will show the following screen.
(flattened).png "how to draw in microsoft word 2010")
The following steps will help you delete rows from a table of a Word document. If you click the Insert Above button, it will add a row just above the selected row.

If you click the Insert Below button, it will add a row just below the selected row as follows. Step 2 − Now use the Row & Column group of buttons to add any row below or above to the selected row. Step 1 − Click a row where you want to add an additional row and then click the Layout tab it will show the following screen. Add a Rowįollowing are the simple steps to add rows in a table of a word document.
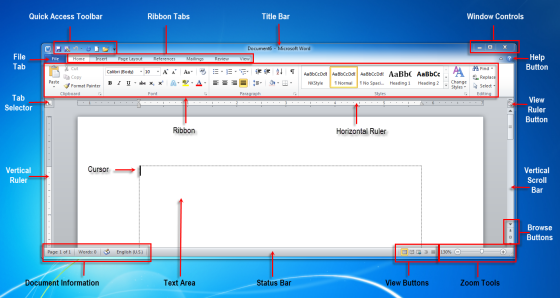
HOW TO DRAW IN MICROSOFT WORD 2010 HOW TO
This chapter will teach you how to add and delete rows and columns in a table. A Word table can contain as many as 63 columns but the number of rows is unlimited. As discussed in the previous chapter, a table is a structure of vertical columns and horizontal rows with a cell at every intersection. In this chapter, we will discuss how to work with rows and columns in Word 2010.
